
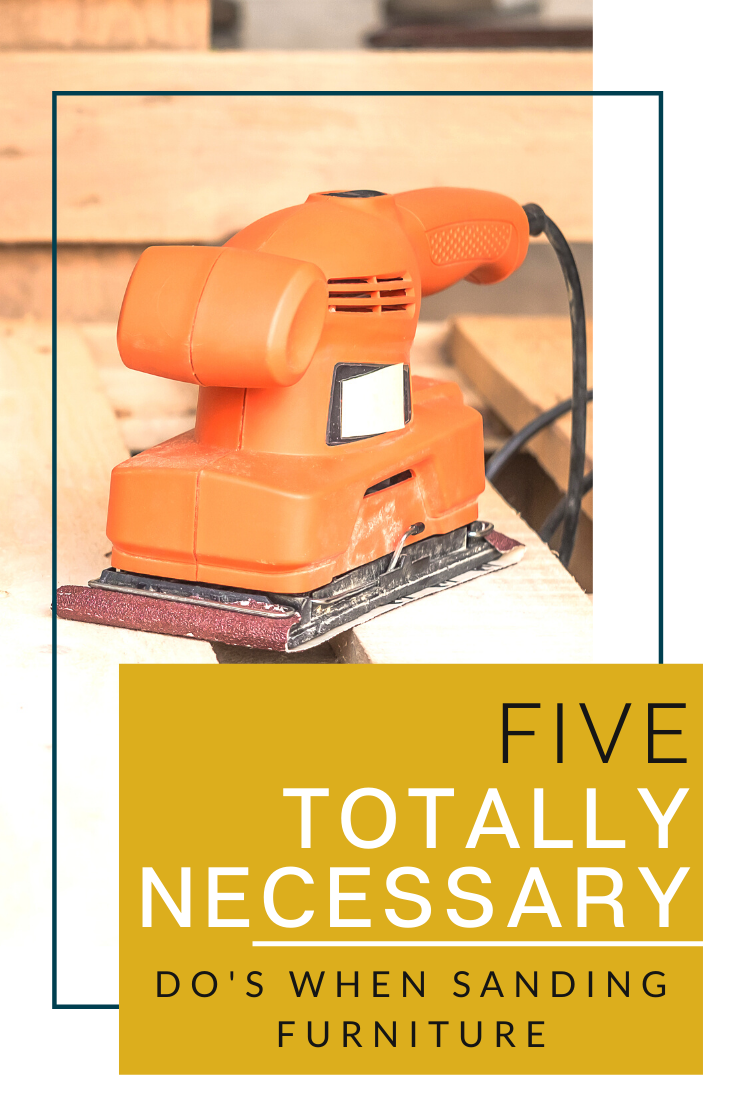
TOTALLY necessary tips for using an electric sander
When using an electric sander, it’s important to remember a few key tips before you begin. It can be tempting to think “I know how to use this! You just turn it on and go!” While this is true for the most part, you’ll want to take note of the following to avoid marring your finish and ending up with a paint or stain job that amplifies imperfections.
First, you always want to progress through sandpaper grits in order. For especially thick or tricky existing finishes, start with an 80 grit sandpaper. For most other circumstances, start with 100, then progress through 120, 150, and finally 220 grits. It’s essential to go through these grits in order to properly prepare the word for whatever finish you will be applying. Generally, I won’t sand past 220, because 220 will achieve a very smooth finish on its own without sealing the grain. When you use higher than 220, you are starting to seal the wood grain, which makes it harder for stain and paint to adhere to the surface.
To begin, place your sander on your work, THEN turn on the sander. Try not to turn the sander on before you place it onto your piece, otherwise you may create large nicks or major dents in the surface. Even if you smooth them out, you may still be able to see those dents when you are done. Also, always move the sander with the direction of the grain.
Let’s talk about dust collection. If you will be doing a lot of sanding, I would recommend attaching a shop vac to your electric sander. You can buy adapters to fit into your electric sander to connect it to the hose of your shop vac at most big box hardware stores; however, it may take some fiddling and asking an employee to help figure out the exact adapter you need. By using a shop vac, you’ll eliminate nearly all the dust from your sanding job and save your lungs (and your shop floor) from excessive dust. Whether you use a shop vac or not, you’ll still want to wear a proper dust mask while sanding, because tiny dust particles of wood can be extremely dangerous to your lungs long-term (some wood products now have disclaimers about wood dust and links to cancer). If you have an electric sander that has a dust bag attached, make sure to empty it often and clean it out with your vacuum as well as in the sink.
With certain finishes, you’ll notice that buildup will occur on your sanding pad over time. This happens when the polyurethane (or whatever sealant was on the previous finish) heats up and globs together with the friction of the sander. It takes the form of smooth, black or colored “dots” on the sanding pad. If you have quite a bit of buildup, replace your sanding pad. If you don’t, the buildup will start to cause swirl marks in the wood, which will be very visible once you paint or stain.
Finally, remember to let the sander do the work for you! Don’t press down on the sander very hard at all; only press down hard enough so that it stays flat on the surface. Pressing down too hard can cause those dreaded swirl marks, as well as cause unevenness in the wood. So, work slowly, and remember that slow and steady is the key to sanding: the faster you go, the worse it will look in the end. It’s not always fun, but it is rewarding when you’ve sanded properly and you have a beautiful, smooth finish.
And that’s all, folks! Take these tips with you when sanding your next piece and you’ll be happy with the result 😊
As always, thanks for reading! Be sure to check back here for a new blog post each and every Friday! Stay tuned into fun updates, resource guides, the blog, and more by subscribing to my email list! Also, make sure you’ve joined the REAL party on Instagram, because I post even more beautiful transformations, tips, behind the scenes, and fun vintage finds almost every day! I’d love to see you over there ❤️
-Austin